Thursday, August 23, 2012

My First Recipe

I have concocted a pretty delicious "chicken salad sandwich spread", if you will, out of my own imagination. I am trying to think up a name for it, and all I've got so far is

SUPER MEGA ULTRA LIGHTNING SANDWICH MIX!!!

Exclamation points included in the official title. So, here is what I do. I made a whole batch of it today, enough for everyone and a couple days after. 

I boiled 3 boneless, skinless chicken breasts. Then allowed them to cool and chopped them up.

Added 3 table spoons of Hellmann's Olive Oil Mayonnaise

Added 3 teaspoons of Honey Mustard

Added two chopped Celery Stalks

Added one chopped Fuji Apple

Added about 3/4 cup of chopped Red and Green Grapes

Added 2 tablespoons of Almond Slivers

Added some Pepper

Et voila! 
continued after the pic 

I put about 1/5 of this mixture on a toasted sandwich round. (You know, those things that look like hamburger buns that got run over by a truck.)

This has been very difficult for me to decipher how many calories are actually in this once I eat only a bit of it. So I looked at what was on my bun and guessed at how much of each item was on it. My "guess" came to right around 102 calories, without the 100 calorie bun. I could be right. I could be off by 500 calories. Can anyone out there make an educated guess on this? 

Wednesday, August 22, 2012

Cool Runnings? I wish.


Tonight was my second time using the Couch to 5K app to assist me in getting off the couch and closer to my dreams of health and happiness. For the first week, it wants you to go every other day and walk for 5 minutes, jog for 2, and then finish with walking for another 5. Tonight my dad came along with me. Either to protect me from the killer West Nile Virus mosquitoes that are invading Texas, or to get back into the swing of things himself. Back in the 80's my dad ran in 5 marathons. Up until a while ago, he was still running on his treadmill every day, but a heart attack back in 2010 put a damper on things.

Two days ago when I began officially trying this new app out, I went in the morning right after I woke up. I hated it. I was still too asleep and my time was worse than it had been a few days before when I was just "walking" by myself. Also, I noticed that it peaked my hunger for the remainder of the day. When I was being fitted for my running shoes a few days ago, I was having a very nice conversation with Jorge (the man assigned to me) and he was saying that I should try different things out and see what works for me. Well, now I know that running in the morning is stupid. For me, anyway.

So tonight I went around 7pm. It was crazy booty hot outside, and I had just developed a killer migraine about ten minutes before I left the house. Still, I was not willing to give up. Maybe I should have waited a little longer for the drugs to kick in though. Because just when I hit the jogging part of the exercise, I started to see spots and my vision started getting a little dark. But I pressed on. While I pressed on, I noticed that my breathing was very heavy. I was struggling to make it. The two minute jog was pretty difficult, but not impossible. But it started giving me doubts. I started to think that I wouldn't be able to improve. Ever. That I wouldn't make it to my goal. That I would never go any faster than this or have any more stamina than this. I was just not cut out for this. So you know what I did?

I kept going.

Running gives me sexy hair


Nike+Running app tallying my runs. 

Sunday, August 19, 2012

Going Down? Yes, Please!

This blog is about to make a hard u-turn back to where it started. But first, a little back story. I know I've been gone a few days.

Reason for my absence: We had a storm come and knock a tree down on our house. Which then made a hole in the roof. Which then caused a waterfall in my bedroom. All over my bed. And my carpet. Everywhere. Just water. Dirty, outside, attic traveling through, rain water. So, my room has been out of commission for over a week now. I've been sleeping on the couch while we get everything back together. The roof is fixed, the water has dried up and now we are replacing the floors. It's a hot mess. So my skin care rituals and nail polish painting sessions have taken a back seat. As well as my blogging. I don't have access to my computer, and I don't like typing on my mom's. A while back I cleaned her keyboard...and somehow made them all very hard to push now. *shaking my head* But, I can't wait anymore so I am getting carpel tunnel in my wrists trying to smash these keys in to type a story to you tonight. Anyway...on to the back story. (nope, that wasn't it)

Before we left California, I was stressing big time. My skin went to hell and my weight went to the moon. I had gone up to 253 pounds. Ridiculous. I was worried about so many things and scared and nervous and not concentrating on taking care of myself. And all along I had joked that when we moved to Texas, I was sure to gain 20 pounds because of all the good food they have around here. Cracker Barrel alone. Mmmmmmm.

As it turns out, the exact opposite was true. When I started working nights, I was walking and sweating all night long. I was too tired during the day to eat most of the time. Within a matter of 2 or 3 weeks I had lost 10 pounds. It stalled right there. When I quit that job, I inexplicably lost another 3 pounds a week later. Within the next few weeks, a few more pounds came off. I'm not sure how. I didn't really do anything different that I can think of. Maybe I just was so happy not to be working nights anymore, I didn't eat as much comfort food?? I don't know. But then I started thinking, while all this weight is sort of coming off...I might as well begin to help it along.

So I made the decision to stop drinking sodas. Now here is how I did that. I am a major caffeine addict. I need a Coke before 10am or I will get an uncontrollable migraine for the remainder of the day that no amount of drugs will take away. DISCLAIMER: I am not a doctor. I am not a health professional. I am not a nutritionist. I am nothing nor no one that has been trained in anything body/health wise nor do I pretend to understand all the things that are good or bad to eat or drink. I get corrected by my health friends every day. That being said, here is my fool proof caffeine quitting process.

Besides the addiction to the caffeine, I like the taste of soda. Especially Dr Pepper. Nom nom nom. So, when I have my obligatory "don't give me a headache" 10 am soda, I get the taste in my mouth and then I want another. And another. And another. So, in order to get the caffeine hit without the taste, I take a diet pill. Not the healthiest thing to do, but hear me out. The diet pills that they want you to take about 8 a day of, I take one. Just one. It has enough caffeine in it to stave off the headaches. A "no doze" would work just as well. It's just a caffeine tablet. I just happened to have some left over diet pills in the house. And since I have no headache, I never "need" to get the soda. And since I never drink the first one, I don't get the taste in my mouth that makes me want more. I do this every morning for about a week. Until I eventually forget to take the pill in the morning. In the mean time, my body has started to learn to live with less of the caffeine. About a day or two after I have forgotten to take my pill, I realize that I am over my addiction. The hard part is actively resisting to go after the taste of soda again.

After that, I dropped another few pounds. Then I decided that i might as well go all out with this thing. I downloaded the LiveStong app for my phone and I put in everything I eat. It calculated how many calories I should have every day in order to lose 2 pounds a week. It started me out in the 1500's. This week I am down to the 1400's. I am using knowledge I gained from Jenny Craig, and trying to keep my foods low in not just calories, but fat as well. As I go along, I talk to my "health friends" and get tips from them. So far, since moving to Texas I have lost a total of 24 pounds.

When I realized that, I decided to take it one step further. I am braving the 102 degree heat and starting to go for walks around my neighborhood. My daughter likes to come with me. I downloaded the Nike + Running app and use it to track my progress. Then I started thinking that I might want to work up to jogging. So the other day I went out to a runners store and got professionally fitted for running shoes. The perfect running shoes for me. I am going all out this time. I am in such a good place mentally. The weight falling off by itself in the beginning really kick started this journey. I can't wait to keep going. I can already feel my body and mind changing. Today I took my daughter to the movies and indulged in some popcorn. My body is still pissed about that, so I don't think I'll be doing that again. And tonight I was a little hungry and wanted something sweet. I have ice cream in the house. Weight Watchers approved ice cream, even. But I didn't want that. You know what I wanted instead? What my body honestly craved? Grapes! OMG grapes. I ate about a handful and I feel so satisfied. That is how I know it is working this time. That now is the time that my mind and body are ready to keep this up. Got me some running shoes, some healthier foods and a lack of caffeine. Get out of my way or follow along. Because you can't stop me now.

Chasing my dreams!

Thursday, August 9, 2012

Adventures In Beauty - DIY Blackhead Mask

...or, "The Great White Stink"


I am a girl who has never been knowledgeable in many beauty products or beauty routines. Nor have I been very adventurous. My hair is curly and thank God because if it were straight it would most likely just hang there like a limp noodle. I've never spent two hours on my hair in the morning, which is why I don't straighten it. I'd have to wake up super early, straighten it...and then use more products to poof it back up again. That's too much damn work for this single mother at 5 in the morning.

That in mind, I am on the hunt for no muss no fuss beauty rituals you can do at home, quickly and on the cheap. I have yet to find a solution to my hair always looking the same, but I have stumbled across some really interesting facials, foot scrubs, nail polish colors, beauty organization tips and other things along those lines. Previously establishing that I have no talent in the beauty department, I am here to test these tips I find from "expert" girls to see how easy they are to apply to real life and how well they get the job done.

Today's task was a made at home blackhead removal mask. The ingredients/instructions were:

1tsp Milk
1 tsp Unflavored Gelatin Mix
Put a hot cloth over your face to open your pores. Dry off face completely before applying mask.
Heat milks and gelatin on the stove until thick
Apply with a cotton swab (I used a facial sponge) while mixture is warm, not hot.
Allow to dry completely. If it feels gel-like, it is not dry yet.
Peel off the mask and your blackheads.

Here's how it went...

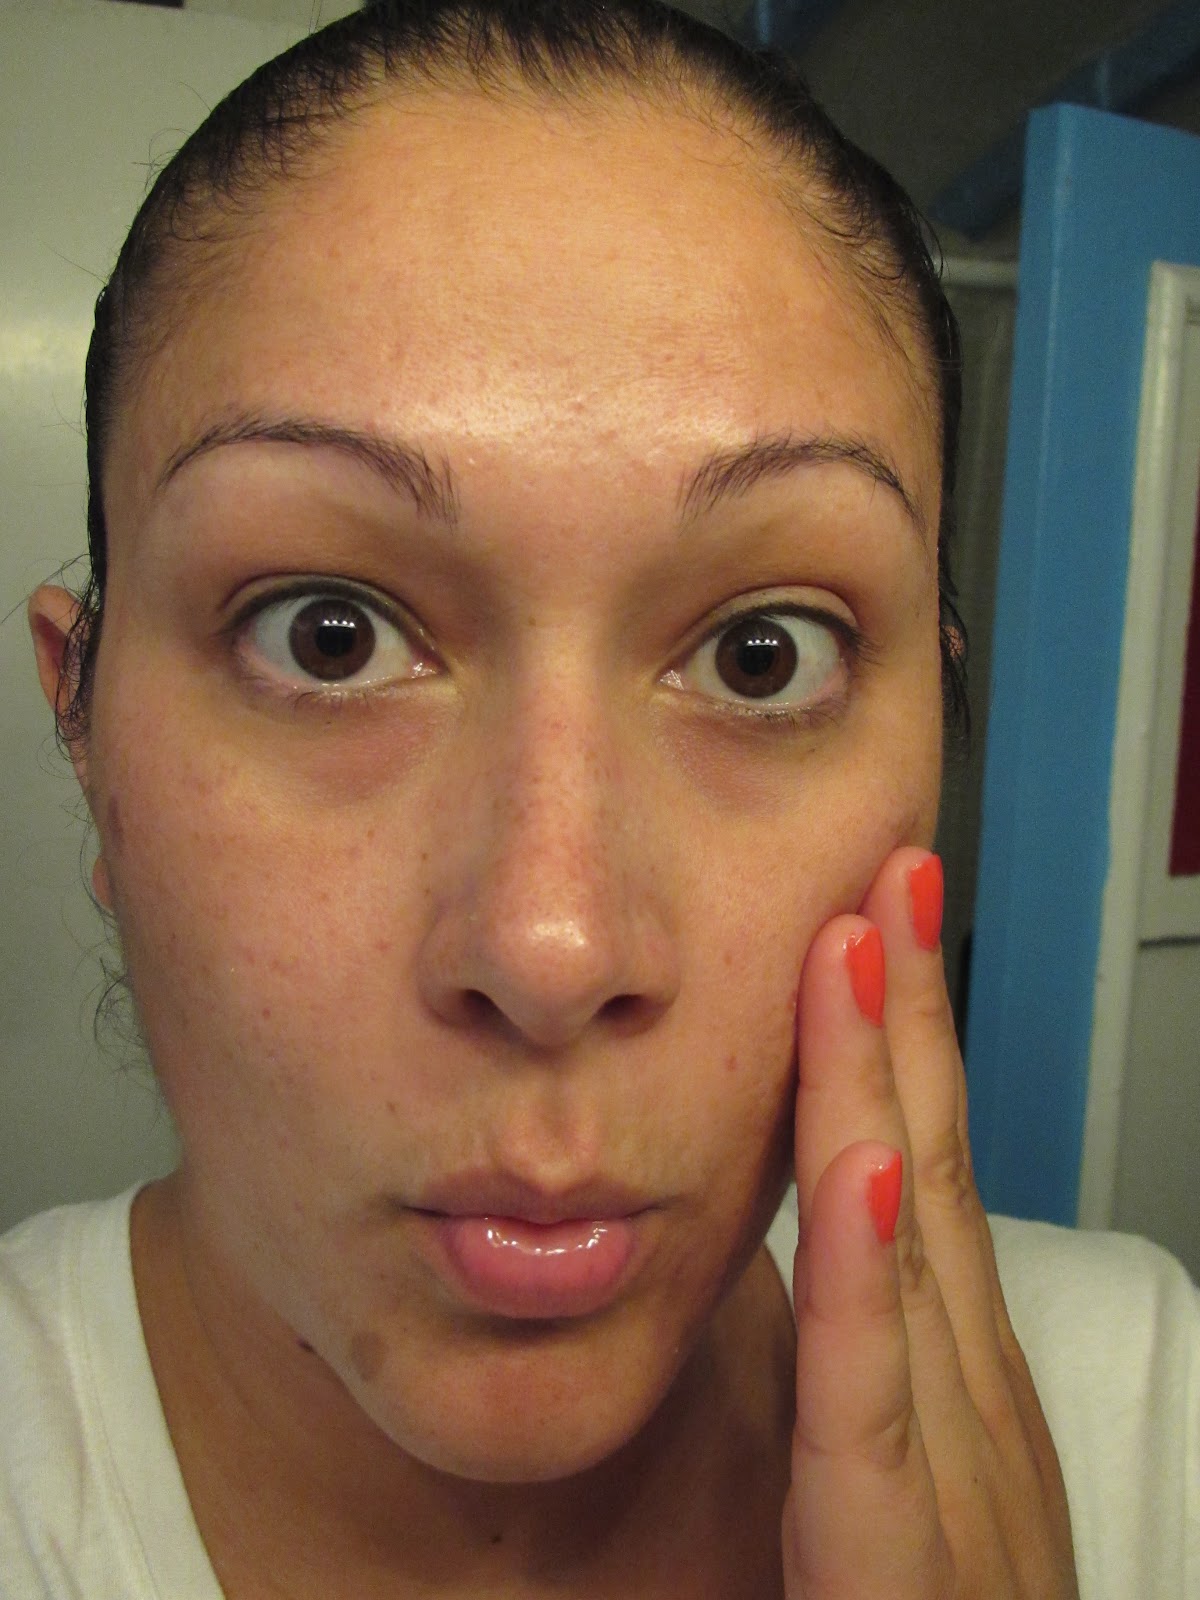
I started with my full face of makeup

Used Facial Cleansing Towelettes to remove everything

Clean face


I decided to also exfoliate with Simple Exfoliating Facial Wipes. Just to make sure my face was good and ready for this mask.


Then I gathered my ingredients. Milk and unflavored gelatine.


The instructions say to use a hot towel on your face to open your pores. I have never found a good method for this so tonight I tried just microwaving a dry towel. Seemed to work. 


I mixed my ingredients (1tsp milk and 1 tsp of the gelatine)


I quickly applied the hot towel to my face


I decided to use a facial sponge to apply the mask, because a q-tip seemed like it would turn into a cottony disaster. Well it turns out that it is very hard to keep the mask warm enough to stay in a liquid state and not hot enough to burn your skin off while you apply it. This dried way too quickly and I wasn't able to get any on my face. It also didn't seem like enough. So I repeated the warming process, but this time I doubled the recipe, making twice as much. Somehow I got it to stay liquid while I ran to the bathroom mirror with the pot and the facial sponge. Now, this stuff STINKS to high heaven. It just stinks. Bad. It's gross. And I'm not gonna lie, the first touch of it going onto my face burned me. It was still too damn hot. But I needed to cover my face with this crap and I knew it was going to gel up any second. By the third touch of it to myface, it had cooled considerably and was still liquid enough to be spread everywhere. How you are supposed to get the timing right on this is beyond me.

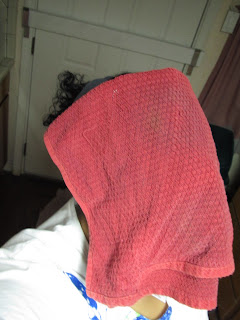
So here I am all masked up and waiting to dry.


A few minutes later my whole face mask was dry to the touch and ready to be peeled off. If you look at the picture below, you will see right in the middle, this mas actually extracted some (for lack of a better word) pimple juice right out of my face. Something that wasn't even on the surface of my skin yet.

At times, it was difficult and a tad painful to remove. 


The worse parts were where the mask had already started to gel while I was still applying and did not go on thick and evenly across my face. That was a lot of picking to get off as much as I could. To loosen it up, I would open my mouth wide and it would start to bust apart.
Looks like something Stan Winston created
Warning: This mask stops at nothing!! Here you can see that it removed, root and all, a good portion of my eyebrows! Well...at least it saved me a trip to the salon.


When it was all said and done, my skin felt absolutely amazing!!! Soooo smooth and baby soft. It was fabulous. But as I was looking at the mask peelings, I did not see one blackhead attached to it. So, the mask did not serve it's intended purpose. It removed zero blackheads, but it did manage to bring some more to the surface. *eye roll* I'm not quite sure what it actually did, but my face felt GREAT!!!


It left a big ole' mess though.


Post mask. Would I use this mask again? Hell no. It is not worth the effort. This is one at home project that I would actually recommend just going to the drug store and buying an over the counter blackhead removal mask or some pore strips. I remember using them in junior high and I always really liked them. 

Now if you will excuse me, I need to go scrape all this hardened gel shit off my kitchen pot.


Tuesday, August 7, 2012

Adventures In Beauty - The Facial Meltdown

This broke girl is on the hunt for inexpensive, DIY spa treatments that can be done at home for just a few dollars. I have been trying out different facials, pedicures, nail polish colors and painting techniques, etc. I am honestly having a blast discovering what I can do and watching to see how things turn out. It's like I am my own science experiment.

The treatments I bring to you come from all over. I search Google, Pinterest and magazines like Cosmopolitan and Redbook. I find the ones that look interesting, easy, inexpensive and beneficial. You can always follow me on Pinterest to see all my findings, but here on my blog you'll see me go through the process of each treatment and get my honest reviews. Which is what I'm bringing you today.

I found something called The Miracle Mask. Said to be calming and soothing for stressed out skin. It has three ingredients.

Honey
Nutmeg
Cinnamon

They say the honey and nutmeg act as anti-inflammatories and are great for acne scars and preventing infection. In addition, the nutmeg and honey exfoliates your skin when you wash everything off. Even so, I decided to begin by cleaning my face with some exfoliating wipes. I had been wearing sunscreen earlier in the day so it seemed like a good idea to get as clean and fresh as possible before I began. 


Sexy and I know it

What you need is 2 Tbsp of honey, 1 Tsp of cinnamon and 1 Tsp of nutmeg.

Trying to keep these facials as inexpensive as possible. Value brands in the house!

Easiest way to get 1tsp out of a shaker bottle. Take the lid off.

Mix all the ingredients in a bowl. It "should" be the consistency of a thick paste. Mine was very thick, but very wet and runny. Before you go wild applying this on your face, they do recommend you try a bit out on your skin to make sure you are not allergic to anything in it and don't have a reaction. I have never been allergic to a food product in my life so I just skipped that part. But I do not recommend that you do the same. Better safe than sorry. They recommend testing it out on the inside of your wrist.

My thick yet creamy mixture.

My daughters reaction to the look of the facial mix.
 When you've got your facial mix ready, apply the mask to your face and let it sit for thirty minutes. Then wash it off with warm water, scrubbing softly in a circular motion for exfoliation.

Here goes nothing.

A minute later, I look like Al Jolson. ("Mammy!")


Why is it so wet?
With the amount the mixture made, I had enough left in the bowl to persuade my mother to come in the bathroom and try this on her face as well.

There's a whole lot of hotness going on in this house tonight. 


Now here comes the "Brandy" part of this facial. I've got it on for about three minutes when I notice that it feels really wet and heavy. I think it must be so hot in the bathroom that I'm getting sweaty and it's causing the mask to run. But that's not it. I went out and sat in a cool room near an air conditioner, but still this facial kept getting runnier. I started to feel it getting dangerously low on my face. I could feel it slooooowly creeping onto my lips. I got a little panicky when I felt it coming down close to my eyes. Then it started dripping off my nose. Oh my goodness. What the hell did I do wrong? This mask is a drippy hot mess! I had to keep grabbing tissues and dabbing them on random parts of my face to catch the runaway mask.

Now, besides the fact that my mask was melting off of my face and onto my clothes and random furniture, I started to feel a little tingly. It felt like the glands in my neck were swelling up and my throat was closing eeeeever so slightly. Holy schnitzel. Am I allergic to nutmeg? Certainly it can't be the honey. I've been using that a lot lately in the honey and aspirin facial routine, and I've eaten it before. It can't be the cinnamon because I've had that before in cookie recipes and other random menu items. I cannot, however, recall if I have ever partaken in nutmeg. A lifetime of picky eatery would lead me to believe that no, I have not tried nutmeg before. Now my lips start to tingle. A lot. It makes sense. The mask has been constantly dripping onto them for the past fifteen minutes. Oh man. WHY didn't I try the allergy test first?? And why on earth is my mask so runny? I followed the instructions and measurements. And yet, my mask paste looks nothing like the consistency I saw with the article that first presented this "miracle mask" to me. Theirs looks like this....

What the hell? Theirs looks nice and thick and paste-like. Mine looks like barbecue sauce!

OMGWHTBBQ

So the thirty minutes is up and I am really thankful that I am wearing a v-neck shirt as it allows more room for my head to wiggle out of without getting any more of this mask on my clothes. I jump in the shower, face tingling, and start to wash this defective mask off my person. I take my time and use a washcloth in order to really take advantage of the exfoliating factor in it. For a while after, my lips are still tingling and my face feels smooth, if not gummy. The honey masks always have a strange after-feeling. But honestly it doesn't last that long and for all the craziness I've been putting my face through, it actually seems to be improving. Since I started all this madness about a week ago, my face has felt smoother and looked a little better. There are still some left over blemishes that I had when I started out. But Rome wasn't built in a day. I'm happy for the improvements in my skin that I have seen so far. The jury is still out on whether or not I'm allergic to some component in this mask, or if I was just imagining the effects. I MIGHT attempt this mask once more, if only to see if I can get the consistency right, and if I have another minor reaction. But if it doesn't get any better, I will be retiring this recipe.

Monday, August 6, 2012

Adventures In Beauty - DIY Foot Scrub

Happy Feet!

My latest DIY at home spa treatment is a foot scrub. Let me tell you up front, this thing works and it's awesome!!! After two days of the routine, my feet became so slick and smooth that I actually slid across the carpet when I was walking barefoot and tried to come to an abrupt stop. Scared the hell out of me, but then blew me away at how smooth my heels had become. This is something I found in my endless searching for at home, inexpensive ways to pamper ones self.

INGREDIENTS YOU WILL NEED:
Organic Sugar Crystals or Sea Salt ( I went with Sea Salt only because I couldn't find the other)
Olive Oil

Optional Follow Up Items:
Epsom Salt
Foot Moisturizer of choice. (I went with plain old Vaseline because I already had it, and the theme here is CHEAP!)
Thick Socks

That's it!

STEP ONE: Scrubbie Scrubbie
In a small bowl or container of your choice - Combine equal parts of Olive Oil and Organic Sugar Crystals/Sea Salt


Stir together (you can also add a few drops of essential oils if you like. I haven't tried this yet)

Start scrubbing your feet. Caution - it feels soooo good that you may not want to stop. You can also use it on your hands to soften them up a bit.


Rinse
Sparkly clean and silky smooth


STEP TWO: Soakie Soakie
Fill a basin with warm water. You can find these at Dollar Stores, Walmart, Target, etc.

Add a 1/2 cup of Epsom Salts (which you can also find at the Dollar Store some times) Soak your feet for the desired amount of time.

Optional: Add some marbles to roll your feet around on, some essential oils (I would suggest peppermint for tired feet), or even some flower petals. 

STEP THREE: Moisty Moisty
After you dry off your feet, slather on your favorite foot moisturizer, cover your feet with some thick socks and leave them on over night. In the morning your feet will be feeling oh so silky smooth! I have done this three nights in a row and my feet are looking and feeling better all the time. 

This is something nice to do for yourself or with your mom, daughter or with a bunch of ladies for a girls night. Or if you're so inclined, you can give your sweetie a foot treatment. Share the love! Most nights I skip the step two and just do the scrub and then the moisturizing. And that's fine too.


Sunday, August 5, 2012

Adventures In DIY - Making a Fairy Room

I can't seem to stop keeping my hands busy lately. This time I attacked my daughters room. We were playing with her little toys one day and we pulled out all her little Disney Fairy dolls. These are all about 5 inches long. I think we got them from Target. I started to think of how cool it would look to have them flying all over her room.

Today I finally put my thoughts into action. For this project, I spent $2.97 to buy some glittered star shaped stickers from Walmart. Everything else I already had. So, this project was cheap.

The size of the Disney Fairies.

Fishing line to attach them to the ceiling.

These were $2.97 at Walmart
In addition to the Fairies flying around the room, I wanted some stars dangling down. So I got these foam glitter stickers at Walmart. I peeled the back off one, lay some fishing line down across it (careful to keep the long end of the string coming right off a star point so that it hangs correctly), then add another star sticker to seal the fishing line inside. This kept the line in place and allowed both side of the star to shimmer and shine.


I would position my fingers in all the star grooves when lowering the second star down in order to help them line up evenly with no overhang. If overhang occurs, you can just trim it off.

Both sides now closed over the fishing line 
Clip off any additional fishing line hanging out the bottom. 

If you kept the long end towards a point of the star, it should hang like this.


Now for the fairies. I turned them over and just played with the fishing line until I got it in a position around the wings that would allow the fairy to hang like it was flying, and not like it was free falling. This fishing line tied really easily and did not slip at all. 

Tinker Bell prepped and ready for flight.

All the stars in the pack have been sealed onto fishing line.


 Now comes the hard part. Figuring out how to attach them to the ceiling. I didn't want to use push pins or thumb tacks because they would show too much. I knew scotch tape would work fine for the stars because they are light as feathers. But the fairies would definitely need something with a better hold. I got the idea to try and superglue the line to the ceiling. I put on some surgical gloves because if ANYONE is going to accidentally glue themselves to something as stupid as a ceiling...it's going to be me. After several failed attempts to glue the fishing line directly to the ceiling, I decided to give it the assistance of the scotch tape. Here are the pictures of what I did.

Place the fishing line over the tape


Add a dab of super glue to the tape where the line rests on it. Can you see it?

 And that's it. I then held the tape up to the ceiling with my gloved hand for a second or two and that was it. It held perfectly. My original idea was to wait until the glue dried all the way and then go back and remove the tape. But I'm not sure that the glue will hold just the fishing line up, and you can't see the tape anyway, so I'm leaving well enough alone and keeping it as is. I also added some glow in the dark stickers to the ceiling and the walls.


So here are a couple picture of the finished project. All together there are eight fairies and 22 dangle stars.